2L Pro Smoothie Blender: Steel Blades for Daily Blends
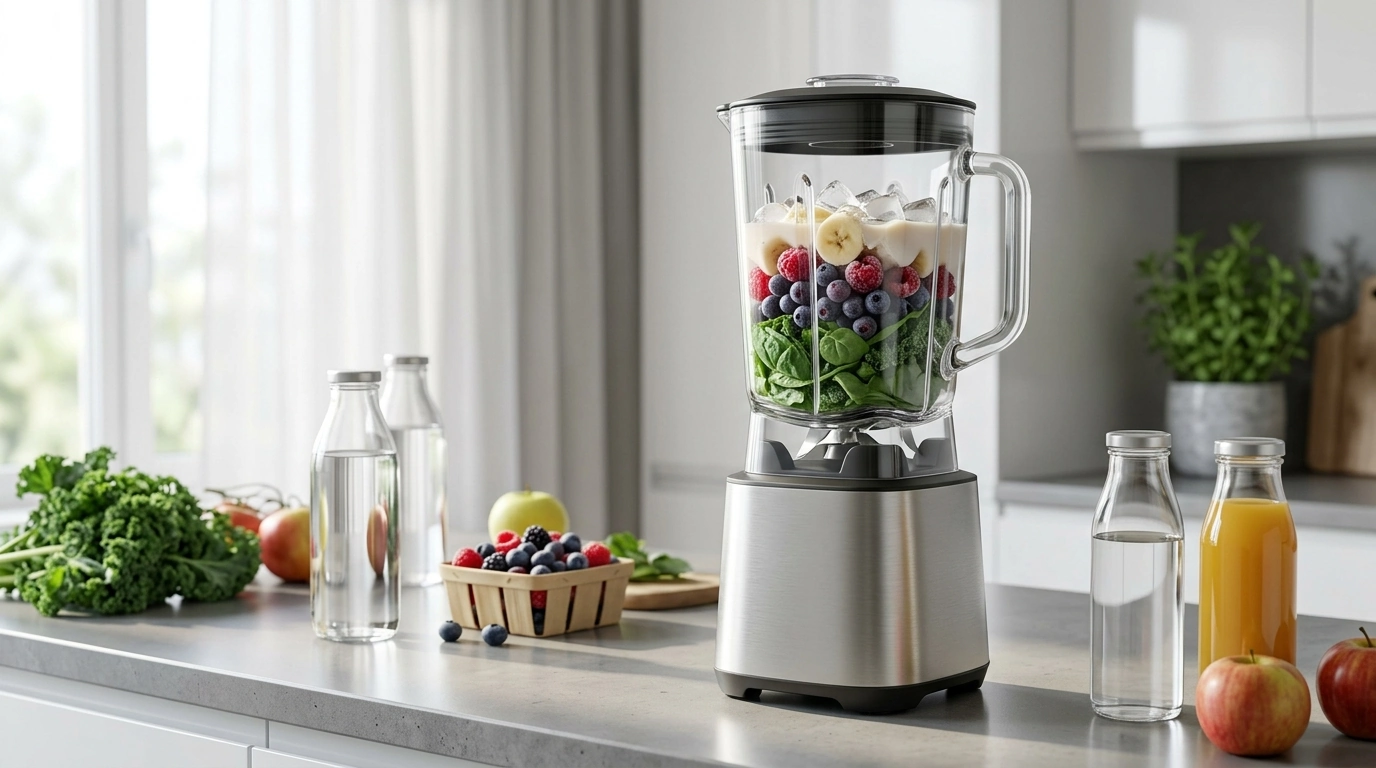
2L Professional Smoothie Blender with Stainless Steel Blades for Daily Smoothies
A high-capacity blender can turn frozen fruit, leafy greens, and ice into consistently smooth drinks without guesswork. The details that matter most are simple: blade material, jar size, power and control, noise, cleanup, and safe everyday use. If smoothies are a daily habit (or a household routine), a 2L professional-style blender can make texture more predictable while reducing stops, scraping, and re-blends.
What makes a blender feel “professional” at home
A “professional” feel isn’t about looking commercial on the counter—it’s about repeatable results and a workflow that doesn’t fight you.
- Consistent texture: The blender should fully break down ice, frozen fruit, and fibrous greens without gritty bits.
- Speed and workflow: Faster blend times and fewer pauses to scrape the sides make daily use easier.
- Durability: Frequent blending puts stress on blades, couplings, jar seating, and lid seals.
- Capacity for groups: A larger jar reduces the need for multiple cycles when making several servings.
- Control: Variable speeds and pulse help you dial in texture and avoid unnecessary heat buildup.
Why stainless steel blades matter for smoothies
Blade performance is a big reason some smoothies come out silky while others feel sandy. Stainless steel is popular for smoothie-focused blenders because it’s tough and stable under repeated ice and frozen blends.
- Edge retention: Stainless steel typically stays sharp longer when repeatedly hitting ice and frozen fruit.
- Corrosion resistance: It helps resist rust and pitting when exposed to moisture and fruit acids.
- Neutral taste and odor: Quality steel is less likely to contribute metallic notes or hold onto smells.
- Stronger performance on tough ingredients: Kale stems, celery, seeds, and ice depend on solid blade geometry.
- Practical tip: Add liquid first, then softer items, then frozen ingredients. Pre-cut oversized frozen chunks to reduce blade shock and prevent cavitation (air pockets that stall blending).
2L capacity: who it’s for and how to use it effectively
A 2L jar shines when smoothies aren’t just a single cup here and there. It’s built for volume and momentum.
- Best for families, meal prep, post-workout batches, and entertaining: One blend can cover multiple servings.
- Fewer cycles for thick blends: Large batches of smoothie bowls or protein shakes are simpler when the jar isn’t cramped.
- Stable vortex (with the right ratios): Enough volume plus proper liquid helps pull ingredients down into the blades.
- Portion guidance: For thicker recipes, start with less liquid and add gradually until ingredients circulate without constant tamping or scraping.
- Storage workflow: Blend once, pour into bottles or jars, refrigerate, and re-blend briefly if separation occurs.
Power, speed control, and blending results
Build, safety, and everyday handling
- Jar and lid fit: A secure lid helps prevent leaks when blending thick mixtures or higher volumes.
- Non-slip base: Stability helps prevent “walking” during ice crushing.
- Don’t overfill: Leave headspace to avoid pressure buildup and splatter, especially with thick blends.
- Hot vs. cold blending: If you ever use a blender for soups, venting and gradual ramp-up help prevent steam pressure issues. Follow basic sanitation and handling principles from consumer food-safety guidance such as the FDA Food Code.
- Child/pet safety: Keep hands away while running and unplug before cleaning or removing stuck ingredients.
Cleaning and maintenance that keeps performance consistent
For general kitchen sanitation and cross-contamination prevention habits, the USDA FSIS kitchen sanitation guidance is a helpful reference.
Smoothie templates that work well with a high-capacity blender
If you want nutrition-oriented guidance for building smoothies that balance fruit, protein, and add-ins, see Harvard T.H. Chan School of Public Health’s overview at The Nutrition Source — Smoothies.
Quick comparison checklist before buying
| Feature | Why it matters | What to look for |
|---|---|---|
| Stainless steel blades | Handles ice and fibrous ingredients with better durability | Corrosion-resistant steel, solid mounting, strong cutting geometry |
| 2L jar capacity | Fewer batches and easier meal prep | Comfortable headspace, secure lid, stable jar seating |
| Variable speeds + pulse | Improves texture control and reduces stalls | Smooth ramp-up, responsive pulse, easy-to-clean controls |
| Jar shape and vortex | Promotes circulation for smoother results | Design that pulls ingredients down without constant scraping |
| Cleanup method | Saves time and encourages frequent use | Quick-clean cycle, accessible lid parts, odor-resistant materials |
Product spotlight: 2L Professional Smoothie Blender with Stainless Steel Blades
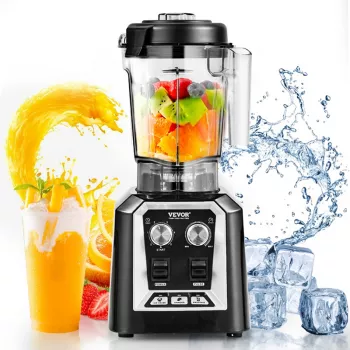
If the goal is to make smoothies (and thicker blends like bowls) a routine without constant stopping and restarting, the 2L Professional Smoothie Blender with Stainless Steel Blades is built around two practical advantages: a large jar and blades designed to handle frozen ingredients and ice-focused recipes.
For portable setups (camping kitchens, tailgates, or off-grid cabins), pairing a power station with a charging solution like the 100W Foldable Solar Panel for Portable Power Stations can help keep small appliances and devices topped up—especially when outlets are limited.
FAQ
Can stainless steel blades blend ice and frozen fruit smoothly?
Yes—stainless steel blades tend to stay sharper and resist damage better with repeated frozen blends, which helps reduce grit. For best results, add liquid first, load frozen ingredients on top, and blend in short bursts if the mixture stalls.
Is a 2L blender too big for single smoothies?
It can still work for single servings, but texture depends on whether the ingredients reach the blades and circulate well at smaller volumes. If your single serving is below the jar’s effective minimum, doubling the recipe for meal prep often blends more smoothly.
What’s the easiest way to clean a smoothie blender right after use?
Rinse quickly, then add warm water plus a drop of dish soap and run the blender for a few seconds; rinse thoroughly afterward. Do occasional deeper cleaning around the lid and blade area to prevent residue and odors.







Leave a comment