Angled Foundation Brush for Liquid Makeup: No-Streak Blend
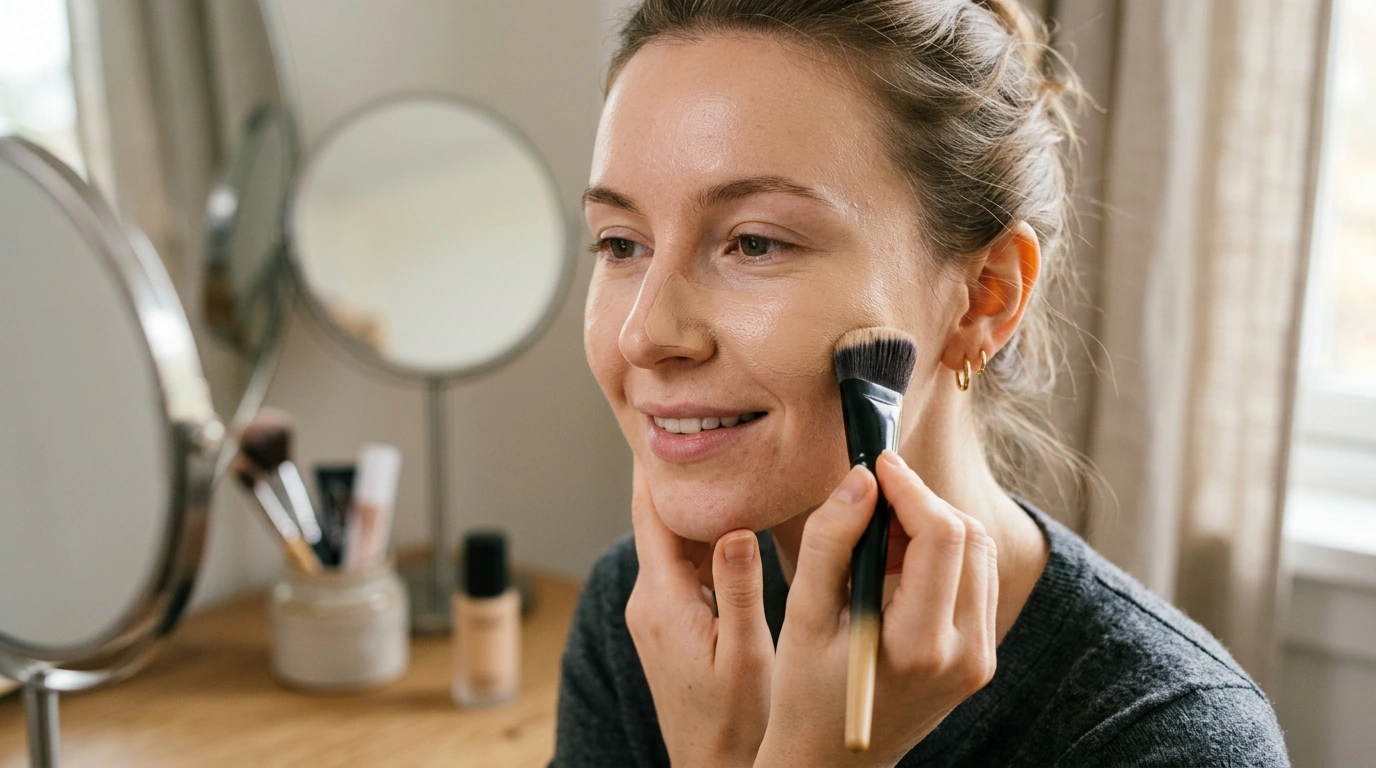
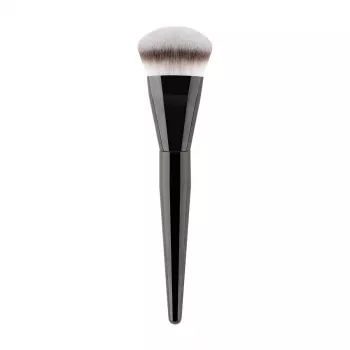
Angled Foundation Brush for Liquid Makeup: Smooth Coverage, Cleaner Edges
Liquid foundation looks its best when it goes on in a thin, even layer—especially around the nose, jawline, and hairline where streaks love to show up. Our team built our Angled Foundation Brush for Liquid Makeup for that job: the slanted head helps you place product precisely, blend quickly, and keep coverage looking like skin rather than makeup sitting on top. For more guidance, see Various Makeup Brushes for Different Applications.
Why an angled brush changes the way liquid foundation blends
An angled brush does more than “feel different”—it helps you control placement and pressure so liquid formulas spread evenly instead of sitting in lines. For further reading, see My Favorite Makeup Brushes: Face Edition.
- The slanted shape follows your facial angles naturally, which helps you blend along the cheekbone, around the nostrils, and under the eye (use very light pressure there).
- A controlled edge makes it easier to cut in around brows and the hairline without accidentally over-applying.
- The angle keeps the brush flatter against the skin, reducing the tendency to leave stripes compared with a rounder profile.
- It supports thin, buildable passes, which is key for keeping liquid foundation from separating, caking, or emphasizing texture.
How to apply liquid foundation with an angled foundation brush
If you’re used to dotting foundation everywhere first, a brush often works better with a slower, more controlled approach—small amounts, blended as you go.
- Start small: Dispense a small amount onto the back of your hand or a palette, then pick up a little at a time to avoid heavy patches.
- Place, then blend: Dab product where you want coverage (often the center of the face or around redness), then blend outward in short strokes or gentle buffing.
- Use the angle intentionally: Use the longer edge to sweep across cheeks and forehead; use the shorter edge for the nose, mouth corners, and under the jawline.
- Go lighter near the under-eye: Keep pressure minimal. If your foundation motion lifts concealer, switch to tapping/pressing instead of sweeping.
- Build in layers: Let the first thin layer settle for a moment, then add a second thin layer only where you truly need it.
Quick routine for different finishes
| Finish goal | Brush motion | Where to focus |
|---|---|---|
| Natural, skin-like | Light sweeping + short blending strokes | Center of face; blend outward |
| Medium coverage | Press + blend (tap then smooth) | Redness zones, around nose, chin |
| Softer, airbrushed look | Gentle micro-buffing (small circles) after placement | Cheeks and forehead; avoid overworking dry patches |
Where this brush is especially useful
Most foundation tools can cover cheeks easily. The difference shows up in the “edge zones,” where makeup can look obvious if it isn’t diffused.
- Nose and nostrils: The angled tip helps you blend without flooding product into creases.
- Jawline and under the chin: It’s easier to diffuse foundation downward so the edge disappears into the neck.
- Hairline and temples: A controlled sweep helps prevent a visible mask line.
- Targeted coverage: Press a small amount of foundation over discoloration first, then blend the perimeter so the coverage looks seamless.
Avoiding streaks, patches, and product waste
Streaking usually comes from too much product too soon or from blending after the foundation has started to set. A few small adjustments can make liquid formulas behave.
- Prime the brush, not the face: Lightly coat the tips with a tiny amount first, then add more as needed. This reduces immediate absorption and improves glide.
- Work in thin layers: Heavy first passes are the most common cause of uneven texture and brush marks.
- Blend outward to fade: Keep most product in the center of the face, and use what’s left on the brush to soften edges.
- For quick-drying formulas, do one area at a time: Finish one cheek, then the other, then move to the forehead—rather than dotting everything at once.
- On dry areas, press instead of buff: Tapping/pressing helps prevent the brush from catching on flaky spots.
Cleaning and care for better skin and better blending
Clean tools apply more evenly and feel better on your skin. They also help reduce the buildup of old makeup, oil, and debris. For step-by-step guidance, the American Academy of Dermatology Association shares best practices for brush hygiene here: How to clean makeup brushes. You can also review general cosmetic safety information from the FDA: Cosmetic products (consumer information).
Simple cleaning schedule
| How often | Best for | What to do |
|---|---|---|
| After each use (quick) | Liquid foundation users | Wipe + quick rinse if needed; remove surface product |
| Weekly | Daily makeup wear | Full wash; rinse thoroughly; reshape and dry |
| Every 2–4 weeks (extra) | Heavy coverage / long-wear formulas | Deep cleanse; focus near the base to remove buildup |
Product details at a glance
Our in-stock picks
FAQ
Can an angled foundation brush be used with tinted moisturizer or BB cream?
Yes—use a smaller amount than you would with foundation and keep pressure light. Blend outward for a sheer finish, and switch to pressing motions if you notice streaking.
How do you keep a foundation brush from leaving brush marks?
Work in thin layers and avoid loading the brush all at once. Use short blending strokes and finish with gentle micro-buffing only where you need extra smoothing.
How often should a liquid foundation brush be cleaned?
Wipe it down after each use to remove fresh foundation before it hardens. If you wear makeup often, wash weekly, and deep-clean more frequently when using long-wear formulas or if buildup is visible.









Leave a comment